So today in class we were shown 2 types of contouring the first a lighter version aim being to have a lovely sheer, dewy, glossy face at the end, which Branka told us would be great for a photo-shoot but is not that durable, and the second a heavier, which Branka told us is good for when the client may be on the red carpet or where there's a lot of flashing lights.
Branka's guide to a light contoured face:
- Prep your models face, cleanse, tone & moisturise
- Branka used Le Maquillage Mandy Gold palette, to mix the models skin tone, using quite a large eye brush, work into the areas of the skin that need neutralising, such as blemishes or red areas,
- If it starts to look a little grey apply the colour D32 from the Kryolan derma palette, then go back over with the base to neutralise.
- Mix 1/4 foundation to 3/4 makeup mixer and it becomes a like a tinted moisturiser. Branka used MAC Studio Fix Fluid. Apply over the face using the tip of the brush (large eye brush) for a really good natural coverage. Don't be afraid to go over areas that need extra coverage with your original base.
- Set around the eyes and nose using a neutral translucent powder.
- Next use Screenface illuminator to highlight, you only need a small amount. Apply with your finger to warm the product. Create a 'C' shape from cheekbone around and up to forehead. Set with the translucent powder.
- Branka used the Ben Nye Colour Palette, colours; beige, brown, and grey mixed together for contour colour. Use angle brush to apply. Work the line underneath highlighter from ear to mouth. Use brush used for applying base to blend. Set with translucent powder.
- Brush through the brows using a brow brush. Then use Kryolan derma palette to fill in. Brush through again.
- Use MAC Vanilla pigment, dab using fingers, over the top of the apple of the cheek and under the brow.
- Finish with blusher using Kryolan lip palette, mix or use a colour that best suits your models tone.
- Match blush colour to lips.
 |
| 1. Branka's work, right side natural contour |
 |
| 2 Branka's left side heavier contour |
 |
| 3 Brankas heavier contour |
So we had to go away, get into pairs and do the lighter version on one another, then for our homework we have to fill in a colour chart sheet and do the heavy contouring either on ourselves or each other, and put it all on our blogs but that is for another time!
 |
| 4. My model before, very lucky as she has really lovely skin to work with! |
Overview & evaluation of lesson:
Above is a picture of my model bare faced. She has really fantastic skin so it was really lovely to work on, the only thing was she was wearing false eyelashes so the end result wont be as natural as possible!
I found mixing her tone using a mix of my La Maquillage palette and the Kryolan derma palette, the easiest I have yet as her neck tone was quite similar to the colours in the palette already so it didn't take much tweaking. So I was happy with the overall coverage.
The highlight went on ok, the contour I found the hardest as it such a dark colour that if you do make a mistake it super hard to get rid of!
I found that when I did go a bit overboard with the Ben Nye palette, just lightly brushing over with the brush used to apply foundation softens it and makes it less visible. However, I did get there in the end.
I also found filling in the eyebrows a challenge to get them symmetrical and thicken them to give a more natural appearance I think that the colour I went for could have been slightly darker to match my models hair colour. I feel they look a little too light.
I was really happy with the end result, but feel my photos I took aren't in the best light to show what I done. As they say "they look much better in person!"
 |
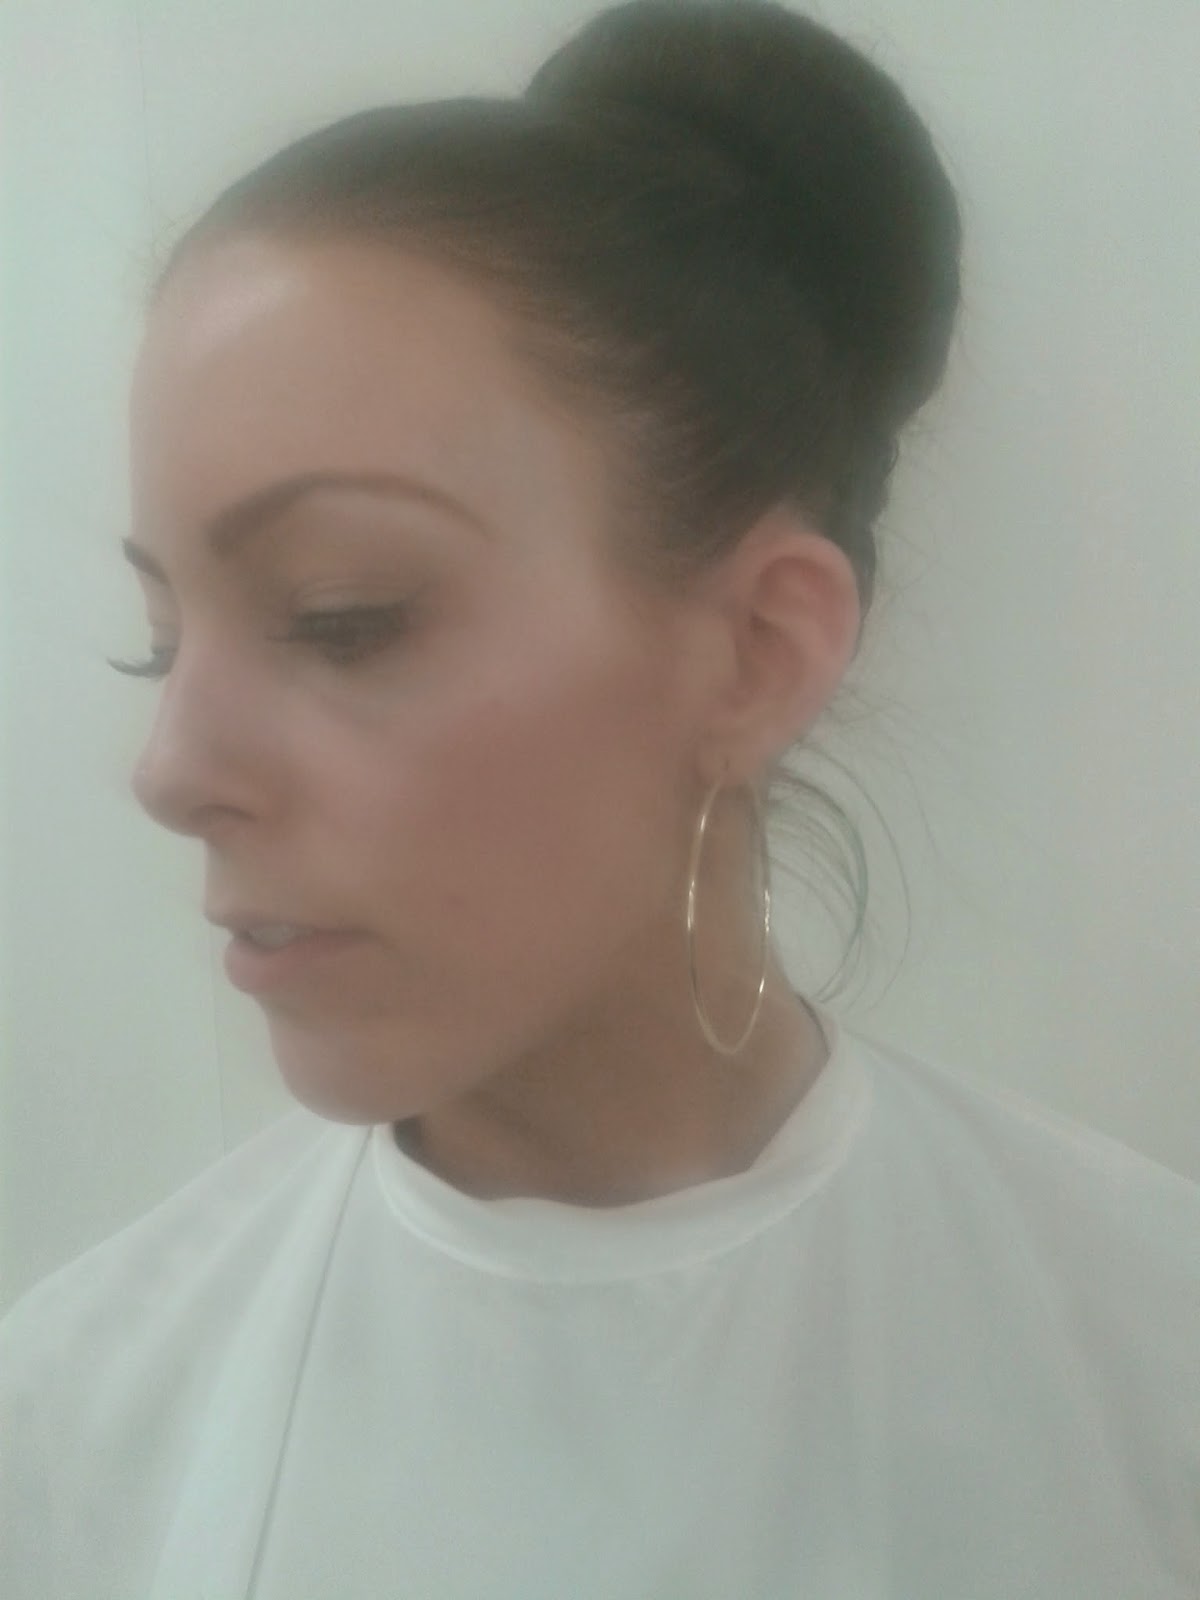
| After she was wearing false eyelashes so doesn't look as natural as possible! |
 |
| Left side view |
 |
| Right side view |
No comments:
Post a Comment