03/02/15 Makeup
for fashion, Tutor; Branka Vorkapic
Step-by-step:
Prep models face; cleanse, tone & moisturise
Mix models colour using Le Maquillage palette apply to the
face using a foundation brush and buff in using bronzer brush, use as your
concealer too, add in a little D32 into the mix for under the eyes.
Mix contour colour 6-7 shades darker than your models skin
tone apply to areas you want to contour, and then buff in using the same
bronzer brush, you brushed the face with earlier.
Use clown white from grease paint palette to highlight (only
use clown white if your models is fair, if she has a darker skin tone use a light
pink tone, as the white turns an ashy colour on their skin). Highlight areas
you want to enlarge/stand out. Buff in using the same bronzer brush.
Apply translucent powder to set, using a powder brush.
Use Ben Nye palette fill in brows using an angled brow brush.
Apply clown white with a round eye brush, to the eye lid;
soften the line so there is no hard edges. Flick out the clown white to create
a winged effect.
Apply a bright powder shadow colour to the inner half of the
eyelid, stipple on, so it’s sitting on top of the clown white rather than
blending in. Apply white underneath allows the bright colour to stand out more.
Apply a different contrasting bright powder shadow to the
outer corner and over the wing, using the same stippling technique.
Soften the shadow on the wing using a small eye blender
brush.
Apply clown white along the water line and into the inner
corner of the eye; you’ll want to have minimal product on your brush so it doesn’t
bleed into your models eye, and along the lower lash line, then apply a
different bright powder shadow over the white.
Use the darkest colour in your bright colour palette; apply
from the inner corner of the eye right up to the brow and along part of the
socket line.
Apply mascara to the top lashes using a small fan brush.
Apply clown white on the cheek wherever you want the blush
to sit, buff downwards.
Next apply a coral blush, starting from by the hairline,
using a large eye brush pat over the clown white, and where you buffed out the
clown white, also feather the blush so there is a soft edge. Stop about half
way so there’s still clown white on show.
Switch to a bright pink blush for the rest of the clown
white on the cheek, blend the two together blush colours together.
Next apply black grease paint using as a liner, apply using
a small brush along the upper lash line, shadowing the wing you did earlier
with the shadow, so it extends up past the eye. Take the line from the inner
corner part way along the lower lash line.
Next apply liner along the bright shadow under on the lower
lash line.
Apply liner along the shadow that runs from the corner of
the eye, up to the brows.
Apply a small dot on the side of the nose next to the
previous line you did.
The final line is applied along the blush line.
 |
1. My tutor Branka's demo |
 |
2. My tutor Branka's demo |
Lesson Evaluation:
I was really disappointed with my final look today.
There are certain aspects I was happy with such as my colour choices, base application and blush.
But the parts that let me down ended up having a knock on effect with the rest of my make-up so the whole look was ruined and I had no time to fix it as we had to swap over so my partner could have her turn.
 |
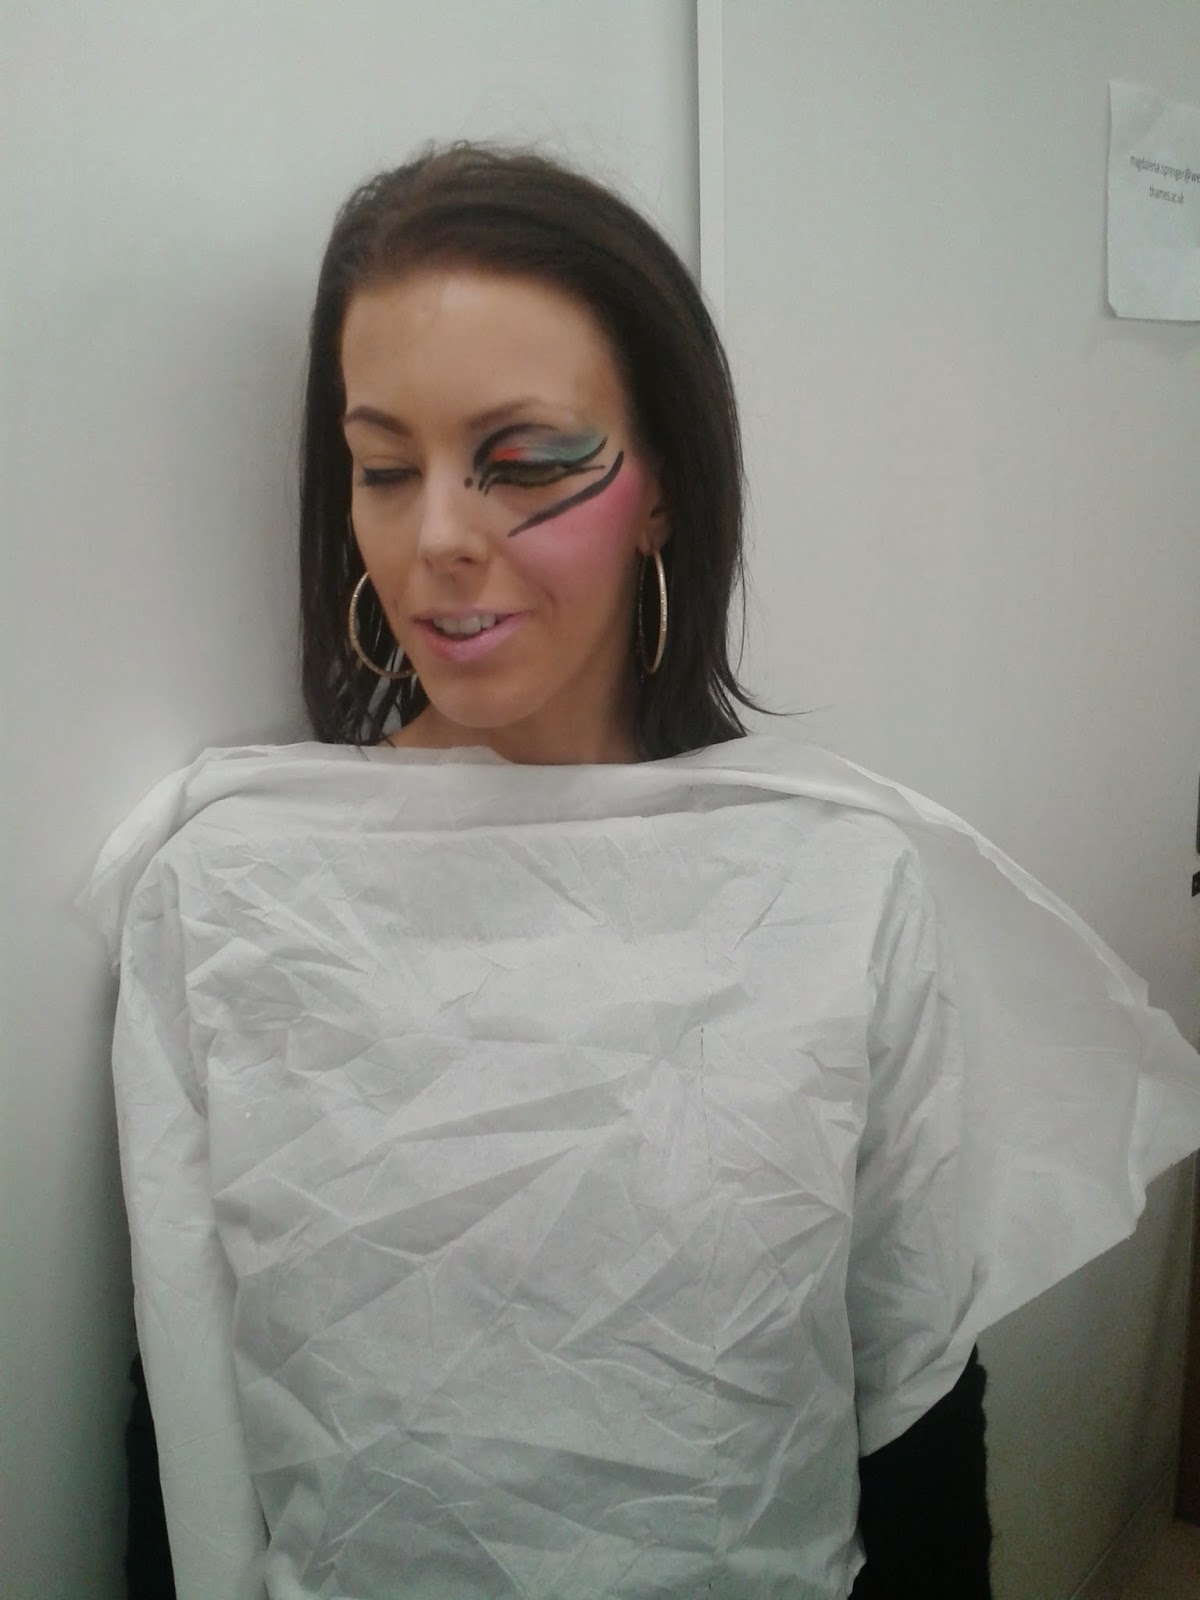
3. My finished look |
 |
4. My finished look |
As you can see above my finished look is not as it should be. I accidentally used black from my aqua colour palette instead of from my grease palette, so it was really watery, which really effected my eye make up as every time my model had her eyes open it would transfer onto the shadow, so I had to keep fixing it, which meant re applying clown white and the shadow. Unfortunately the last time this happened it was just before my time was up so I couldn't rectify it.
My black lines are too thick. I didn't use a small enough brush.Now looking at the photo my blush could have been a heavier application to give a stronger colour like my tutors version.
Overall I'm disappointed with myself as I know I can do so much better, I think the mistakes arose at to late a point where I couldn't go back and change them as time wasn't on my side.
References:
1. My tutor Branka Vorkapic's demo
2. My tutor Branka Vorkapic's demo
3. My make up
4. My make up
No comments:
Post a Comment